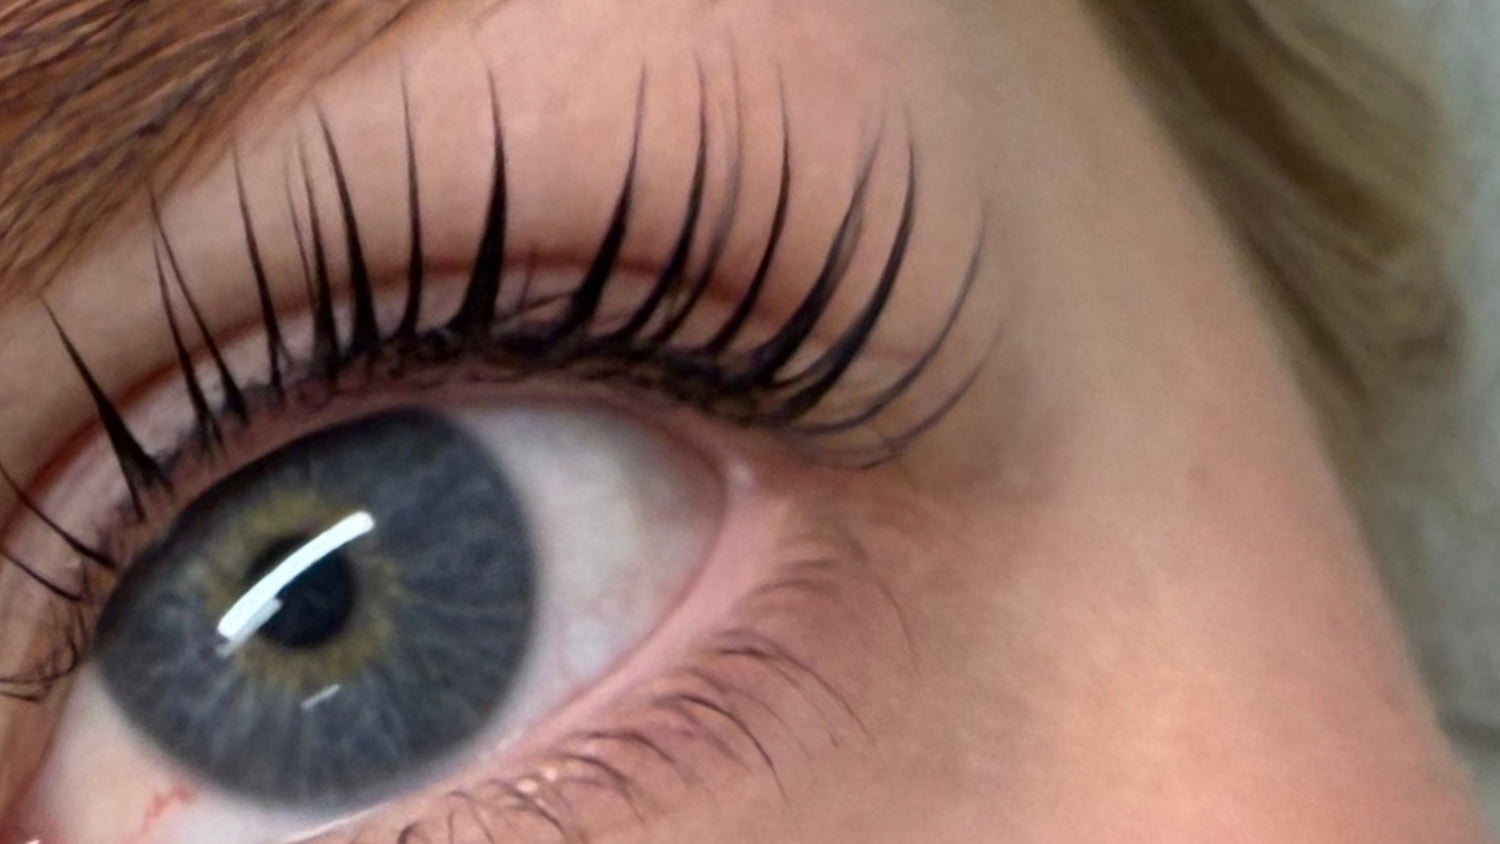
Slik utfører du vippeløft med tradisjonelt lim
Med Ruthie Belles profesjonelle produkter får du kontroll, presisjon og et resultat som varer. Denne veiledningen viser deg nøyaktig hvordan du utfører vippeløft med tradisjonelt lim – perfekt for både nyutdannede og erfarne stylister.
Steg for steg
Rens
Rens vippene med en mild skumrens.
Ikke bruk Micellar Water – det kan legge igjen oljefilm.
Easy Lift Primer
Bruk en mikroapplikator og påfør jevnt. Vent 30-60 sekunder før du fortsetter. Dette produktet åpner skjellaget og gjør vippene klar for en enklere oppliming.
Fest skjoldet
Velg skjold basert på vippenes lengde og ønsket effekt. Fest skjoldet med lim på baksiden dersom det ikke ligger på plass av seg selv.
Bruk et speil for å kontrollere at skjoldet følger vippekanten nøyaktig – det påvirker hele resultatet.
Løft og separer vippene
Påfør lim på skjoldet i små seksjoner. Bruk en børste med stiv bust for å løfte, rette ut og separere vippene én og én.
Ujevn eller overdreven bruk av lim gir skjevt løft. Jobb systematisk.
Step 1: Lifting Lotion
Påfør fra vipperoten opp til ønsket høyde (apex eller litt over). Unngå ujevne linjer. Dekk med compensator eller folie hvis ønskelig for jevnere varme og virkning.
Virketid
8–12 minutter avhengig av vippenes tykkelse.
8 min for fine vipper - 10 min for normale - 12 min for grove vipper
Ikke følg tidene slavisk, men sjekk at vippene faktisk er brutt ned før du fjerner steg 1. Dette ser du ved å pirke ned en vipp og sjekke fleksibiliteten.
Step 2: Fixing Lotion
Tørk av Step 1 med en tørr Q-tip. Påfør Fixing Lotion i samme område.
Virketid:
8–10 minutter. (2 minutter kortere enn steg 1)
Farge
Fjern Step 2 med en fuktig børste eller q-tip.
Bland ønsket vippefarge + 1,5–3 % oksidant og påfør.
Følg produsentens anvisninger.
Shine Repair
Fjern fargen og påfør Shine Repair direkte på vippene. La virke i 5 minutter. Dette lukker skjellaget, gir glans og styrker vippene etter behandlingen.
Siste finish
Bruk After Lift Neutralizing Foam til å rense hele øyelokket og vippeområdet og fjern skjoldene forsiktig.
Tørk og påfør Lami Juice for glød, fukt og en silkemyk finish.
Husk å ta bilde av resultatet til Instagram, og tag @naturellebeauty.no 📸
Tips og anbefalinger
FØR
Utfør alltid en grundig konsultasjon – spør om tidligere behandlinger, allergier og generell vippehelse.
Unngå sminke og oljeprodukter på behandlingsdagen. Dette kan påvirke limets feste og virkestoffenes effekt.
Vurder vippens utgangspunkt nøye.
Tynne, tørre eller skadede vipper kan kreve kortere virketid eller skånsommere metode (f.eks. uten Easy Lift).
UNDER
Jobb systematisk – hold kontroll på virketiden per øye for et symmetrisk løft.
Bruk engangsverktøy og rene børster for hvert steg – hygiene er viktig!
ETTER
Anbefal oljefrie og nærende produkter som serum eller mascara for å vedlikeholde resultatet.
Gi med eller send et etterpleieark (eller lenke til FAQ) – kunder føler seg godt ivaretatt når de får klare råd.
